Step 1
Unboxing
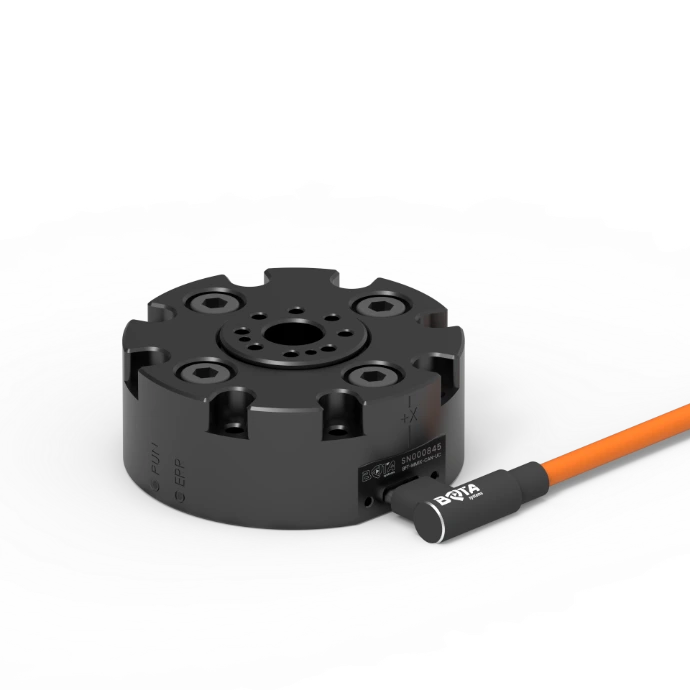
Make sure you received all included parts of your product
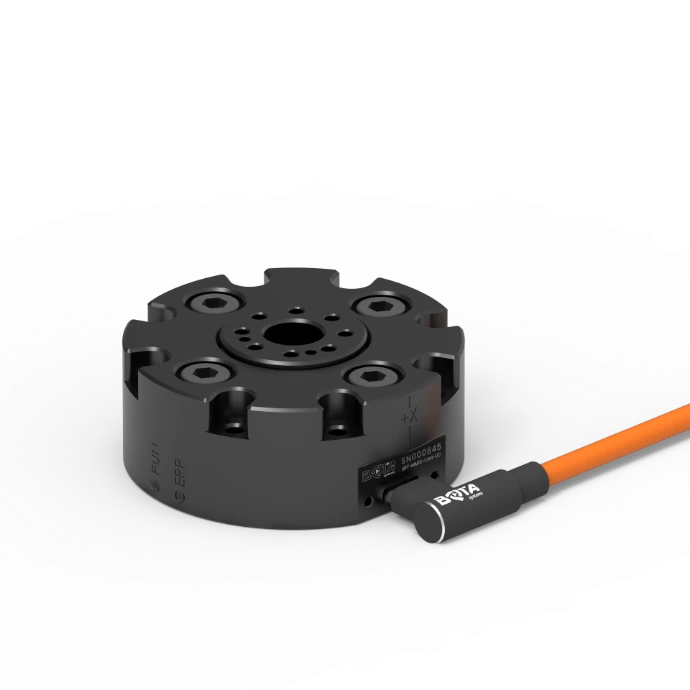
▶ F/T Sensor
▶ USB cable
▶ Accessory kit
Step 2
Installation
▶ Choose from the two options below.
▶ Attach the cable to the Sensor
Make sure the green LED lits
▶ Navigate to the online configuration
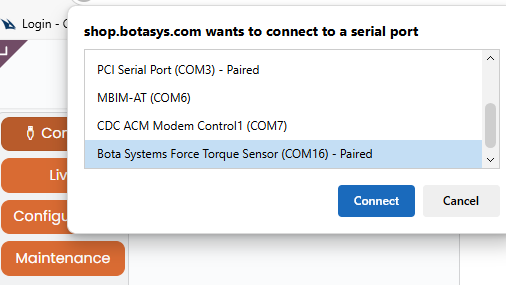
▶ Click "Connect" and select the sensor
▶ You should see the sensor measurements shortly
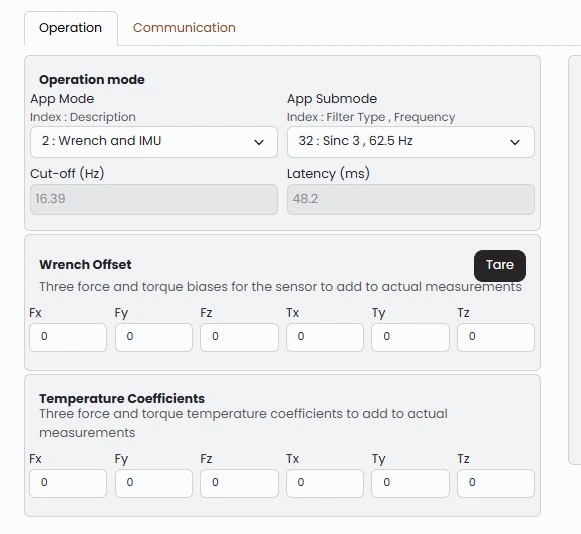
▶ Click "Configuration" to modify the sensor parameters
- Data rate
- Offset or Tare the measurements
- Include/exclude IMU data
- Enable temperature coefficients
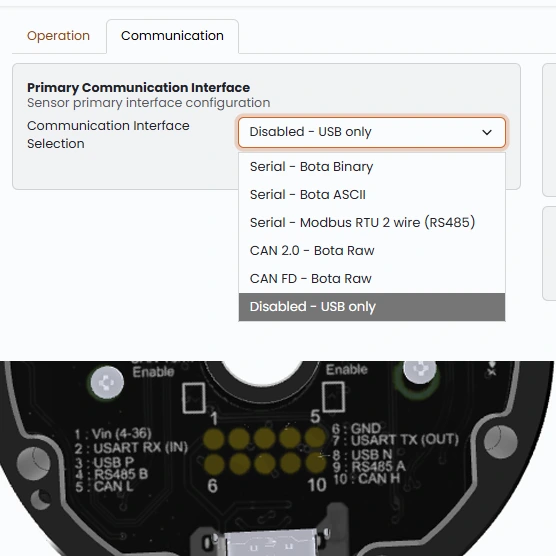
▶ Click "Communication" to modify the sensor Interface to:
- USB only
- Serial (UART/RS485)
- CAN
USB cannot be disabled only muted. By selecting Bota Quiet on the banner on the right
CAN, UART and RS485 is accessible via the sensor Solder pads
Termination can be enabled by solder jumpers for CAN and RS485
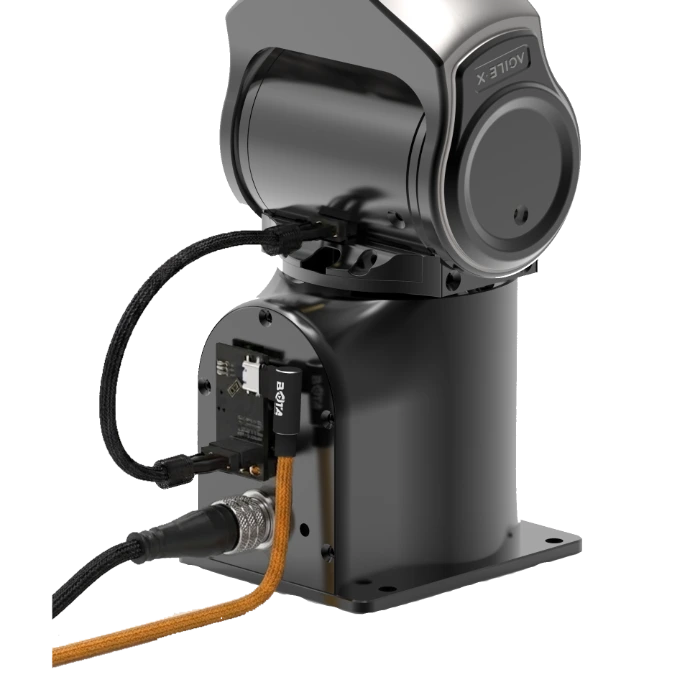
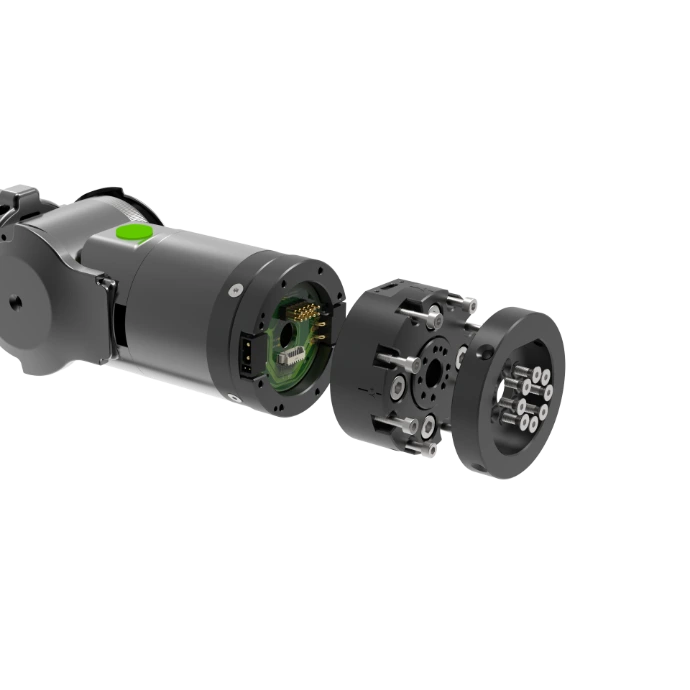
▶ Attach the supplied parts like in the picture
▶ Attach first the adapter with the electronics and make sure to use the pins to align it on the robot.
▶ Attach carefully the sensor to the adapter aligning the pins and the spring contacts
▶ If you need a to use Piper compatible tool you can use the last adapter to attach the gripper to the robot.
▶ Navigate to the online configuration
▶ Click "Connect" and select the sensor
▶ You should see the sensor measurements shortly

▶ Click the button "Configuration" to modify the sensor parameters
- Data rate
- Offset or Tare the measurements
- Include/exclude IMU data
- Enable temperature coefficients

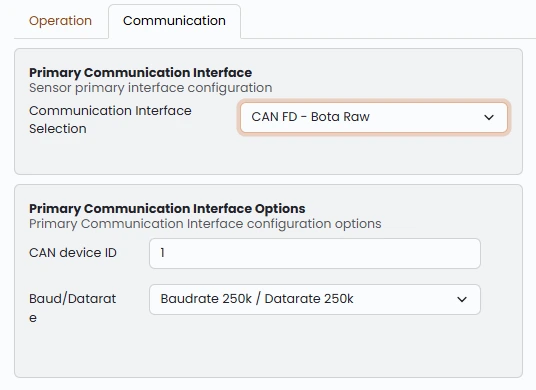
▶ Select the "Communication" tab to modify the sensor's Interface according to your robot:
Robot | Interface |
|---|---|
AgileX Piper & PiperX | CAN 2.0 - Robot Internal bus |
YAM | CAN 2.0 - Robot Internal bus |
To connect to the sensor through the robots Internal CAN bus without interrupting the motor's CAN messages.
USB is always available and cannot be disabled
Make sure to select the correct Baudrate
Termination can be enabled by solder jumpers on the sensor
▶ Connect the 4 wire cable that came with the kit to connect the last joint to the sensor's adapter (use any port)
▶ Connect the piper's cable between the sensor's port and the gripper
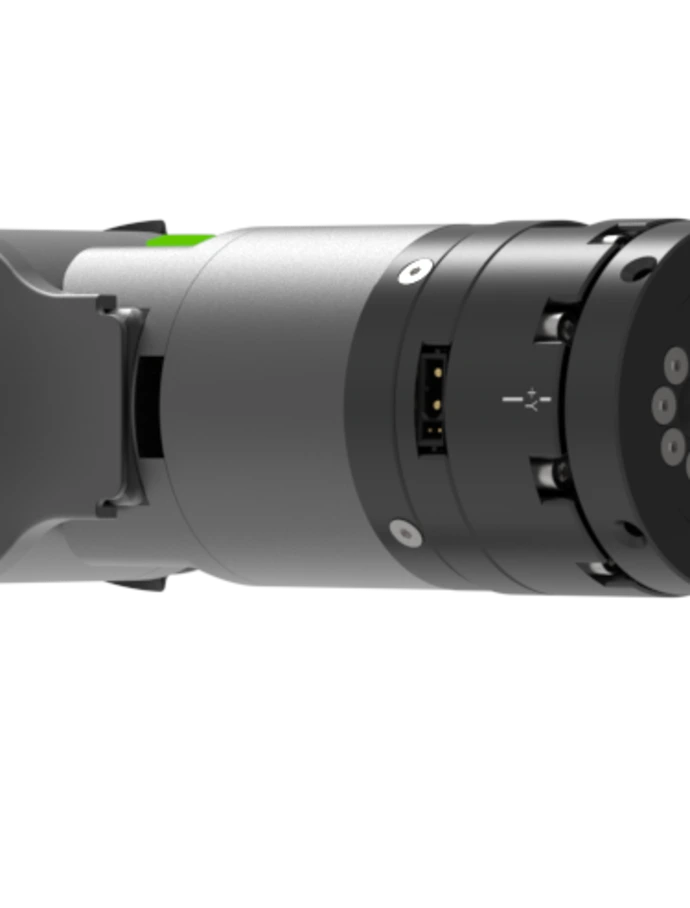
▶ Connect the Bota Systems CAN adapter between the Robot base and the first robot link
▶ Use the sensors USB cable to connect the adapter to your computer
Is not possible to communicate with the sensor using the Robot base CAN adapter